Nintendo 64 Controller Cable Repair Complete Guide
Overview
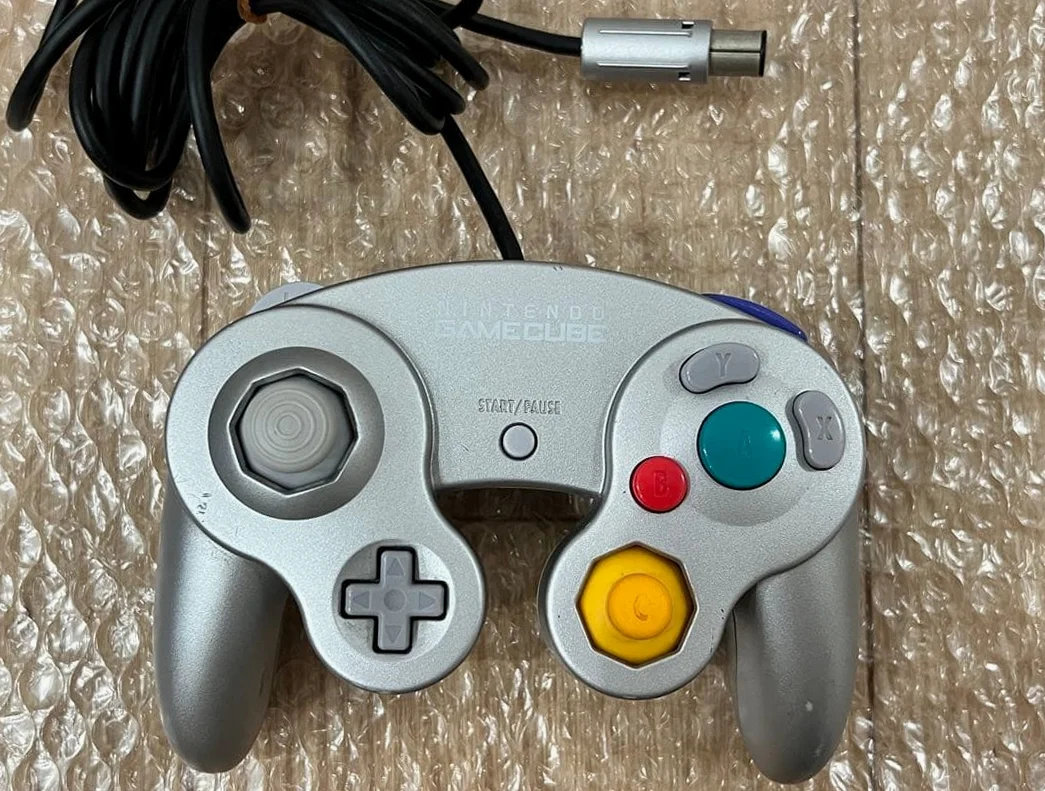
The Nintendo 64 controller cable is the critical connection component between controller and console. Long-term use often leads to wear, breakage, poor contact, and other issues. This guide comprehensively covers N64 controller cable structure, diagnosis, repair, and replacement methods.
N64 Cable Structure & Specifications
Physical Specifications
- Cable length: Approximately 1.8 meters (original specification)
- Conductor count: 3-core (simplified design)
- Outer diameter: Approximately 4.0mm
- Plug type: Dedicated N64 controller plug
- Color coding: Typically gray or matching controller color
Cable Electrical Specifications
- Power line: +3.3V power supply
- Data line: Bidirectional communication data
- Ground line: Signal and power ground
- Shielding layer: Some versions have shielding
Plug Pin Definitions
- Pin 1: Data line (DATA)
- Pin 2: +3.3V power
- Pin 3: Ground (GND)
- Pin 4: Clock line (CLK, some versions)
- Pins 5-7: Reserved or specific functions
Common Failure Types
A. Physical Damage
- Cable jacket wear: Outer sheath cracked exposing internal conductors
- Conductor breakage: Internal copper wires broken causing open circuit
- Plug damage: Plug deformation, bent or broken pins
- Stress point damage: Damage at plug base or bend points
- Connector corrosion: Pin oxidation or corrosion
B. Electrical Faults
- Complete open circuit: One or more conductors completely disconnected
- Intermittent connection: Unstable connection working intermittently
- Short circuit fault: Accidental contact between conductors
- Increased contact resistance: Oxidation or corrosion causing higher resistance
- Signal attenuation: Signal weakening from distance or damage
C. Functional Abnormalities
- Power issues: Controller power supply unstable or interrupted
- Communication errors: Data transmission errors or packet loss
- Recognition failure: Console cannot recognize controller
- Function loss: Specific functions intermittently failing
Diagnostic Tools & Equipment
Basic Tools
- Digital multimeter (essential)
- Wire strippers and cutters
- Soldering station and solder (60/40 or 63/37)
- Heat shrink tubing and heat gun
- Magnifying glass or microscope
Professional Equipment (Optional)
- Cable tester
- Network analyzer (impedance testing)
- Oscilloscope (signal integrity analysis)
- Pull force tester
Consumable Materials
- Replacement cable (original or compatible)
- Solder wire and flux
- Insulation tape and sleeves
- N64 connector plug (if needed)
- Epoxy resin (for reinforcement)
Safety Precautions
⚠️ Electrical Safety - Ensure controller completely powered off before repair - Avoid shorting 3.3V power and ground lines - Use appropriate insulation materials - Check all connections before testing
⚠️ Heat Safety - Use appropriate temperature when soldering (320-350°C) - Avoid burn and fire risks - Operate in well-ventilated environment - Handle hot tools properly
⚠️ Mechanical Safety - Use sharp tools carefully - Avoid internal cable damage - Note springs and clips - Prevent part loss
Detailed Diagnostic Process
Step 1: Visual Inspection
- Overall inspection:
- Check entire cable length for obvious damage
- Look for jacket wear, indentations, or cuts
- Check plug deformation or damage
-
Observe color changes (may indicate internal issues)
-
Key area inspection:
- Plug base: Most common break point
- Bend points: Frequently bent areas
- Stress points: Cable fixation points
- Connector interior: Pin condition
Step 2: Continuity Testing
- Wire-by-wire testing:
- Use multimeter resistance range (200Ω scale)
- Test continuity of each conductor from plug to board end
- Record resistance values (should be <1Ω)
-
Note shielding layer testing (if present)
-
Short circuit testing:
- Test for shorts between conductors
- Check conductor contact with shielding layer
- Verify insulation performance (should be >10MΩ)
Step 3: Dynamic Testing
- Bend testing:
- Bend cable at suspected fault points
- Observe multimeter reading changes
- Locate intermittent fault points
-
Mark exact positions
-
Pull testing:
- Gently pull cable sections
- Test connection strength
- Identify potential weak points
- Note safety limits
Step 4: Functional Testing
- Console connection test:
- Actually connect to N64 console
- Test all controller functions
- Observe fault symptoms
-
Record test results
-
Substitution test:
- Compare with known good cable
- Isolate cable faults from other issues
- Confirm fault scope
- Verify diagnostic conclusions
Repair Methods Detailed
A. Jacket Repair
Minor Wear Repair
- Cleaning treatment:
- Clean worn area with isopropyl alcohol
- Remove dirt and oxides
- Check if conductors exposed
-
Assess damage extent
-
Insulation repair:
- Wrap with electrical tape (temporary)
- Or use heat shrink tubing protection (permanent)
- Ensure complete insulation
-
Test insulation resistance
-
Reinforcement treatment:
- Add spring protective sleeve
- Use cable protection mesh
- Epoxy resin reinforcement (optional)
- Improve stress distribution
Severe Damage Repair
- Cut damaged section:
- Cut on both sides of damaged area
- Keep sufficient length for reconnection
- Clean cut edges
-
Prepare connection materials
-
Reconnection:
- Connect conductors according to color correspondence
- Solder or use connectors
- Insulate each connection point
-
Test connection quality
-
Overall protection:
- Use large diameter heat shrink tubing
- Or braided mesh protective sleeve
- Mark repair location
- Record repair information
B. Conductor Breakage Repair
Single Wire Repair
- Locate break point:
- Use multimeter for segment testing
- Or bend method for location
- Mark exact position
-
Assess repair difficulty
-
Wire stripping preparation:
- Strip wire on both sides of break point
- Expose sufficient length (10-15mm)
- Clean copper wire surface
-
Pre-tin treatment
-
Connection method selection:
- Soldering method: Most reliable, requires skill
- Crimping method: Use specialized connectors
- Twisting method: Temporary solution
-
Connector method: Removable design
-
Insulation treatment:
- Insulate each connection point separately
- Use heat shrink tubing or insulation tape
- Ensure no short circuit risk
- Test insulation performance
Multiple Wire Repair
- Sequential repair:
- Repair one wire at a time
- Avoid confusing conductor correspondence
- Test each wire before continuing
-
Record repair sequence
-
Staggered connections:
- Stagger connection point positions
- Reduce overall diameter increase
- Improve mechanical strength
-
Enhance flexibility
-
Overall insulation:
- After all repairs completed
- Use large heat shrink tubing for overall wrapping
- Or braided mesh sleeve protection
- Test overall performance
C. Plug Repair
Plug Base Repair
- Open plug housing:
- Find fixing clips or screws
- Carefully open housing
- Note internal structure
-
Record disassembly steps
-
Internal inspection:
- Check solder joints for cracking
- Check pins for looseness
- Check strain relief structure
-
Assess damage extent
-
Resoldering:
- Clean old solder joints
- Re-tin and solder
- Ensure full, shiny solder joints
-
Check soldering quality
-
Strain relief:
- Add hot glue fixation
- Or use epoxy resin
- Improve mechanical strength
- Test pull resistance
Pin Repair
- Bent pin correction:
- Carefully correct with tweezers
- Avoid multiple bends
- Check contact performance
-
Test insertion/removal smoothness
-
Broken pin replacement:
- Replace entire plug if spare parts available
- Or transplant from donor controller
- Ensure correct pin definitions
- Test electrical performance
D. Complete Cable Replacement
Preparation
- Select replacement cable:
- Original used cable (best)
- High-quality compatible cable
- Custom-made cable (requires skill)
-
Assess cable quality
-
Length matching:
- Measure original cable length
- Prepare slightly longer cable
- Consider routing space
- Reserve repair margin
Replacement Steps
- Old cable removal:
- Record original connection method
- Photograph color correspondence
- Carefully remove old cable
-
Save usable components
-
New cable preparation:
- Cut to original length
- Strip wires for soldering
- Pre-tin treatment
-
Check cable quality
-
Soldering installation:
- Solder according to color correspondence
- Ensure solder joint quality
- Check for no shorts
-
Test connectivity
-
Test verification:
- Test immediately after soldering
- Verify all functions
- Ensure no errors
- Record test results
Professional Repair Techniques
Soldering Techniques
- Temperature control:
- Cable soldering: 350-380°C
- Plug soldering: 320-350°C
- Quick soldering to avoid overheating
-
Use appropriate power soldering station
-
Solder joint quality:
- Full, smooth solder joints
- No cold joints or dry joints
- Appropriate solder amount
-
Clean area around solder joints
-
Insulation treatment:
- Insulate after solder joints cooled
- Use appropriately sized heat shrink tubing
- Ensure complete coverage
- Test insulation performance
Stress Management
- Bend radius:
- Maintain minimum bend radius
- Avoid sharp angle bends
- Reduce stress concentration
-
Improve cable lifespan
-
Fixation point design:
- Add fixation at key points
- Use cable ties or adhesive
- Distribute stress
-
Prevent local fatigue
-
Protection structures:
- Spring protective sleeves
- Braided mesh sleeves
- Custom protective parts
- Improve durability
Post-repair Testing
Electrical Testing
- Continuity testing:
- All conductor resistance < 1Ω
- No shorts between conductors
- Insulation resistance > 10MΩ
-
Shielding layer testing (if present)
-
Voltage testing:
- 3.3V power stability
- Signal line voltage range
- Ground continuity
- Voltage drop testing
Mechanical Testing
- Bend testing:
- Full range bend testing
- Check connection stability
- Observe resistance changes
-
Test flexibility
-
Pull testing:
- Appropriate pull force testing
- Check connection strength
- Verify strain relief
- Test durability
Functional Testing
- Basic functions:
- Console connection recognition
- All button testing
- Stick function testing
-
Z-button function testing
-
Stress testing:
- Extended continuous use
- Repeated insertion/removal testing
- Actual game testing
- Stability verification
Preventive Maintenance
Daily Usage Recommendations
- Proper insertion/removal:
- Hold plug body for insertion/removal
- Avoid pulling cable
- Insert/remove vertically
-
Gentle operation
-
Cable management:
- Avoid excessive bending
- Don't wrap too tightly
- Use cable organizers
-
Proper routing
-
Storage methods:
- Store loosely coiled
- Avoid heavy objects pressing
- Store in dry environment
- Regular inspection
Regular Inspection
- Monthly inspection:
- Visual inspection
- Plug cleaning
- Function testing
-
Status recording
-
Annual maintenance:
- Deep cleaning
- Stress point inspection
- Performance verification
- Preventive repair
Repair Difficulty Assessment
- Jacket repair: Simple (90% success rate)
- Conductor repair: Medium (85% success rate)
- Plug repair: Medium-difficult (80% success rate)
- Complete replacement: Difficult (75% success rate)
- Professional modification: Expert level (70% success rate)
Cost-effectiveness Analysis
DIY Repair Costs
- Material cost: ¥20-60
- Tool investment: ¥200-500 (one-time)
- Time cost: 1-3 hours
- Learning cost: Basic electronics skills
Professional Repair Costs
- Simple repair: ¥60-120
- Complex repair: ¥100-200
- Complete replacement: ¥150-300
- Time: 2-5 days
Replacement Costs
- Compatible cable: ¥50-100
- Original used: ¥80-180
- With controller: ¥120-250
Alternative Solutions
Temporary Solutions
- Position fixation: Find working position and fix for use
- Function simplification: Disable faulty functions and continue use
- External reinforcement: Temporary protection with tape or sleeves
- Extension cable use: Use extension cable to bypass damaged section
Long-term Solutions
- Wireless modification: Modify to wireless controller
- Professional repair: Seek professional repair service
- Controller transplant: Transplant motherboard to other shell
- Collection display: Display as collectible item
Professional Services
- Custom cables: Custom high-quality replacement cables
- Professional repair: Seek professional repair service
- Upgrade modification: Upgrade to modern connection standards
Professional Advice
Skill Development
- Start simple: Practice jacket repair first
- Learn soldering: Master basic soldering skills
- Understand circuits: Learn basic electronics knowledge
- Practice accumulation: More practice improves skills
Quality Control
- Test first: Test before and after repair
- Record process: Photograph repair steps
- Use quality materials: Choose reliable materials
- Safety first: Always follow safety standards
Summary
Nintendo 64 controller cable repair is a practical and economical skill that can significantly extend controller lifespan when mastered. Through correct diagnosis and appropriate repair techniques, most cable issues can be resolved, allowing classic controllers to continue functioning.
Key success factors: 1. Accurate fault diagnosis 2. Appropriate repair methods 3. High-quality repair materials 4. Thorough testing verification
Whether repairing beloved original controllers or performing batch repairs, these skills are valuable. Remember: Patience and attention to detail are key to successful repair, and good repair can extend device lifespan for many years.
Last updated: March 1, 2026
Compatible models: All Nintendo 64 controller cables
Technical level: Beginner to intermediate
Safety level: Requires basic electronics safety knowledge
Recommended experience: Basic soldering and electronics repair experience
Special note: N64 cables relatively simple, good starting point for learning cable repair