Super Nintendo Power Switch Replacement Complete Guide
Overview
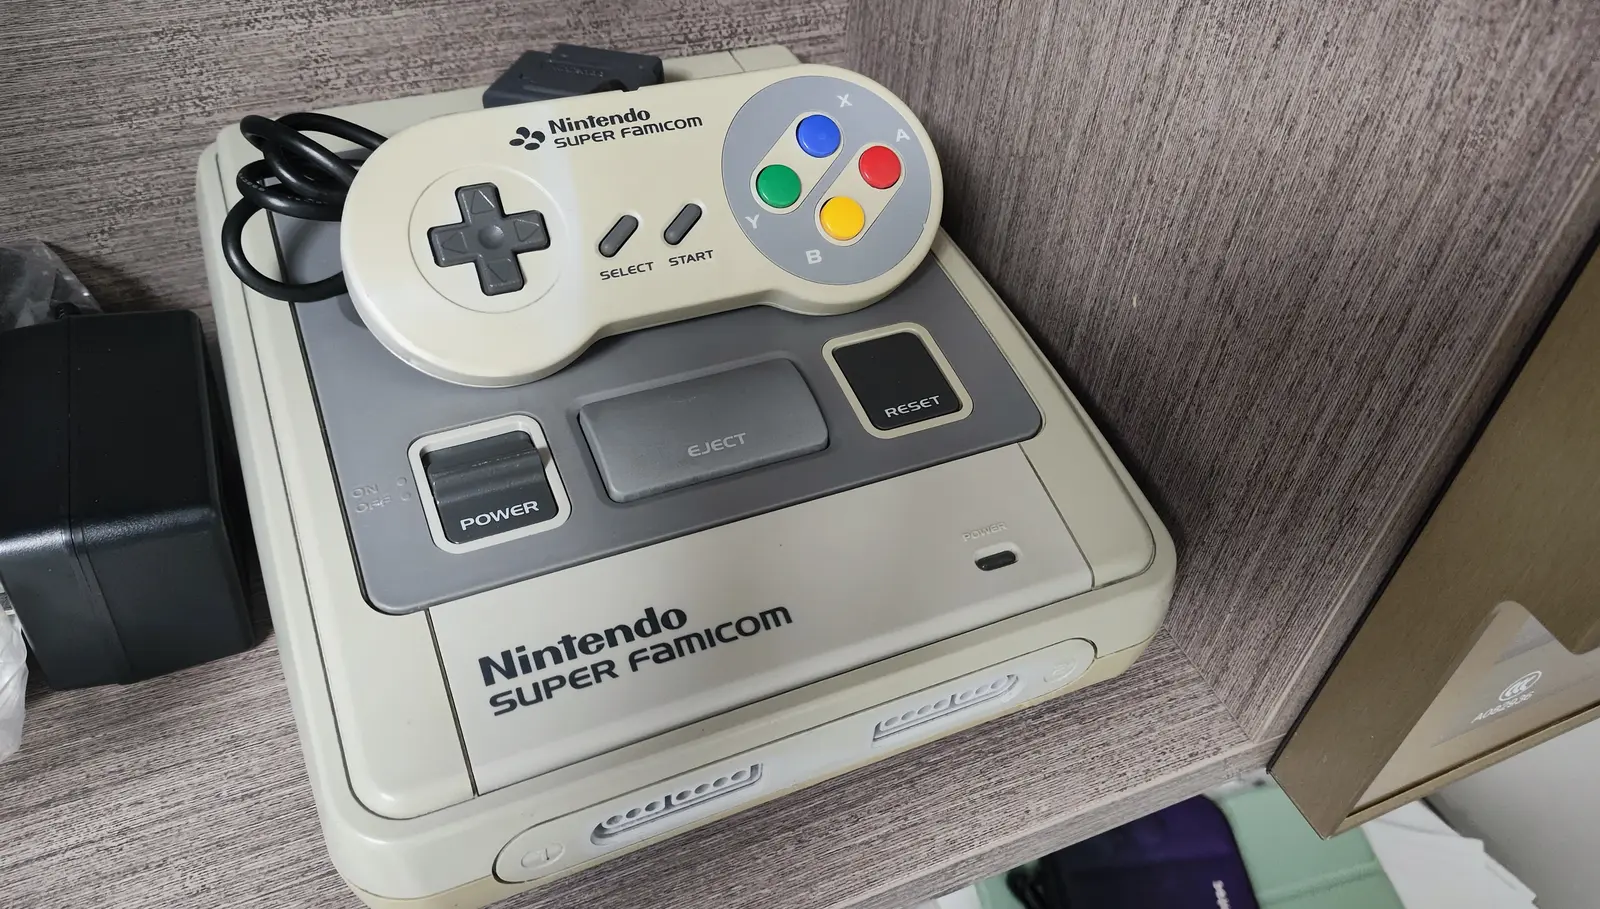
The Super Nintendo (SNES) power switch is one of the most frequently used components, controlling console power state. Due to long-term use, dust accumulation, or internal oxidation, the power switch may develop poor contact, sticking, or complete failure issues. This guide provides detailed instructions for diagnosing and replacing the SNES power switch.
Required Tools
- Phillips screwdrivers (#00 and #1)
- Flathead screwdriver or plastic spudger
- Soldering iron (30-40 watts)
- Desoldering pump or solder wick
- Flux
- Solder (60/40 or lead-free)
- New SNES power switch (ensure compatibility)
- Multimeter (for testing)
- Isopropyl alcohol and cotton swabs
- Anti-static wrist strap (recommended)
- Tweezers
Safety Precautions
- Power off: Ensure SNES completely unplugged from power adapter
- Static protection: Wear anti-static wrist strap when handling motherboard
- Soldering safety: Work in well-ventilated area, avoid burns
- Component identification: Photograph switch's original position and wiring
- Patient operation: Switch solder points may be small, require precise operation
Diagnostic Steps
Before deciding to replace switch, accurately diagnose problem:
Step 1: Symptom Analysis
- Complete failure:
- Switch won't stay in "on" position
- Switch loose, can't maintain position
-
Console completely unresponsive
-
Poor contact:
- Multiple attempts needed to power on
- May randomly power off after turning on
-
Switch position sensitive, slight touch causes power off
-
Mechanical issues:
- Switch sticks, hard to toggle
- Abnormal switch feel (too loose or tight)
- Switch lever damaged or missing
Step 2: Basic Testing
- Visual inspection:
- Check if switch lever intact
- Observe area around switch for damage
-
Check switch mounting secure
-
Function testing:
- Toggle switch multiple times, test feel
- Test if switch stays stable in both positions
-
Listen for abnormal sounds during switch action
-
Electrical testing (using multimeter):
- Resistance test: Test if switch conducts in "on" position
- Continuity test: Test connection from switch pins to motherboard
- Insulation test: Test if switch completely open in "off" position
Step 3: Cleaning Attempt
If suspect contact issues: 1. Spray electronic contact cleaner into switch interior 2. Toggle switch multiple times to distribute cleaner 3. Wait for complete drying before testing 4. If improves after cleaning, may only need cleaning not replacement
Replacement Steps
Step 1: Disassemble Console Case
- Preparation:
- Unplug all cables (power, video, controllers)
- Place console on soft, anti-static work surface
-
Prepare container for screws
-
Remove bottom screws:
- Use #1 Phillips screwdriver to remove all bottom screws
- SNES typically has 6-7 bottom screws
-
Note screw lengths, store by position
-
Separate case:
- Carefully lift top case
- Note top case may have clip connections
- If internal cables, disconnect them first
Step 2: Access Power Switch
- Locate switch:
- Power switch located on console right side (adjacent to reset button)
- Switch soldered to motherboard
-
Note switch orientation and mounting method
-
Remove obstacles (if needed):
- If switch blocked by other components, may need temporary removal
- Photograph all disassembly steps
- Handle all cables carefully
Step 3: Remove Old Switch
- Identify switch type:
- Slide switch: Most SNES use this type
- Toggle switch: Some models may use
-
Observe switch pin count and arrangement
-
Prepare soldering tools:
- Preheat soldering iron to appropriate temperature (about 350°C/662°F)
- Prepare desoldering pump or solder wick
-
Prepare flux and solder
-
Remove solder:
- Work on each switch pin sequentially: a. Heat pin solder joint with iron b. Use desoldering pump to remove molten solder c. Or use solder wick to clean joint
-
Ensure all pins completely detached from pads
-
Remove old switch:
- After all joints cleaned, gently wiggle switch
- Remove old switch from motherboard front
- If switch has mounting clips, may need careful release
Step 4: Prepare New Switch & Motherboard
- Clean pads:
- Clean pad area with isopropyl alcohol and cotton swabs
- Check pads intact, no lifting or damage
-
Repair damaged pads if needed
-
Prepare new switch:
- Check if new switch same model as old
- Test new switch mechanical action smoothness
-
Check pins straight, adjust slightly if needed
-
Confirm installation orientation:
- Compare old/new switch markings or structure
- Confirm switch "on"/"off" direction
- Ensure lever position aligns with case opening
Step 5: Install New Switch
- Position switch:
- Insert new switch into motherboard holes
- Ensure all pins through corresponding holes
-
Switch should sit flat against motherboard surface
-
Temporary securing:
- Can solder two diagonal pins first for temporary securing
- Check switch properly installed, orientation correct
-
Ensure lever aligns with case opening
-
Solder all pins:
- Solder each pin sequentially
- Use appropriate solder amount, form smooth conical joints
- Avoid excessive solder causing shorts
-
Ensure joints secure, no cold solder
-
Check soldering quality:
- Inspect all joints with magnifier
- Check for shorts between pins
- Test switch mechanical action smoothness
Step 6: Electrical Testing
- Continuity testing (using multimeter):
- Test if relevant pins conduct when switch "on"
- Test if completely open when switch "off"
-
Test connection from switch pins to motherboard
-
Function simulation testing:
- Temporarily connect power (without installing case)
- Test switch function: a. Toggle to "on", observe power response b. Toggle to "off", ensure complete power off c. Test multiple times for stability
Step 7: Reassemble & Final Testing
- Reassemble:
- Reinstall all removed components
- Connect internal cables
-
Close case, tighten all screws
-
Final function testing:
- Connect all external cables
-
Comprehensive switch function testing: a. Test normal power on/off b. Test switch feel normal c. Test switch position stable d. Long-term operation test for stability
-
Comprehensive system testing:
- Insert game cartridge test
- Test all console functions
- Ensure no other issues after switch replacement
Common Issues & Solutions
Issue 1: Switch Still Not Working After Replacement
- Possible causes: Soldering issues, switch failure, or motherboard problems
- Solution: Check all solder joints, test switch itself, check motherboard related circuits
Issue 2: Abnormal Switch Feel
- Possible causes: Switch improperly installed or model mismatch
- Solution: Check switch installation, ensure proper alignment, confirm model compatibility
Issue 3: Switch Position Doesn't Align with Case Opening
- Possible causes: Installation orientation wrong or different switch model
- Solution: Recheck installation orientation, replace with compatible switch if necessary
Issue 4: Motherboard Damaged During Soldering
- Possible causes: Iron temperature too high or improper operation
- Solution: Use temperature-controlled iron, quick soldering, repair damaged pads if needed
Switch Types & Compatibility
Common SNES Power Switch Types
- Slide switch:
- 2-pin or 3-pin design
- SPST (Single Pole Single Throw) or SPDT (Single Pole Double Throw)
-
Current rating: Typically 3A @ 125V AC
-
Toggle switch:
- Less common, some models use
- May require different installation method
Compatibility Check
- Physical dimensions: Ensure new switch matches case opening
- Pin arrangement: Confirm same pin count and spacing
- Electrical specifications: Confirm voltage and current ratings sufficient
- Mechanical specifications: Confirm lever length and action angle appropriate
Preventive Maintenance
- Proper use:
- Use appropriate force when toggling switch
- Avoid frequent rapid switching
-
Ensure completely toggled to "off" when powering off
-
Regular cleaning:
- Clean switch every 6-12 months
- Use dedicated electronic contact cleaner
-
Test switch function after cleaning
-
Environment control:
- Avoid humid environments, prevent internal oxidation
- Prevent dust entering switch interior
- Regularly check switch mounting secure
Technical Specifications
- Switch type: Slide switch (most models)
- Contact material: Silver alloy or similar
- Contact resistance: Typically <50mΩ
- Insulation resistance: Typically >100MΩ
- Mechanical life: Typically 10,000+ operations
- Electrical life: Typically 5,000 operations (at rated load)
Professional Techniques
- Soldering techniques:
- Use fine tip iron (0.5-1.0mm)
- Control solder amount, avoid bridging
-
Quick soldering to avoid overheating switch or motherboard
-
Testing techniques:
- Perform basic function testing before complete assembly
- Use multimeter to verify switch states
-
Gently wiggle switch during testing, check contact stability
-
Parts selection:
- Choose original or high-quality compatible switches
- Check switch mechanical quality and electrical specifications
- Ensure fully compatible with your SNES model
Alternative Solutions
If exact same switch unavailable:
- Similar switch modification: Use similarly sized/specified switch, may need minor modifications
- Switch repair: If only contact issue, may be repairable without complete replacement
- Professional customization: Seek professional repair service for custom solution
- Donor parts: Harvest switch from damaged SNES console
Summary
Replacing SNES power switch is a medium-difficulty repair task requiring basic soldering skills and electronic knowledge. Following this guide's detailed steps, you can successfully restore power switch normal function. Key steps include accurate problem diagnosis, careful disassembly, proper soldering, and comprehensive testing. If unfamiliar with soldering, recommend practicing on other scrap circuit boards first, or seek professional help. Remember: safety first, patient operation is key to success.
Last updated: February 28, 2026
Reference source: iFixit Super Nintendo Power Switch Replacement Guide