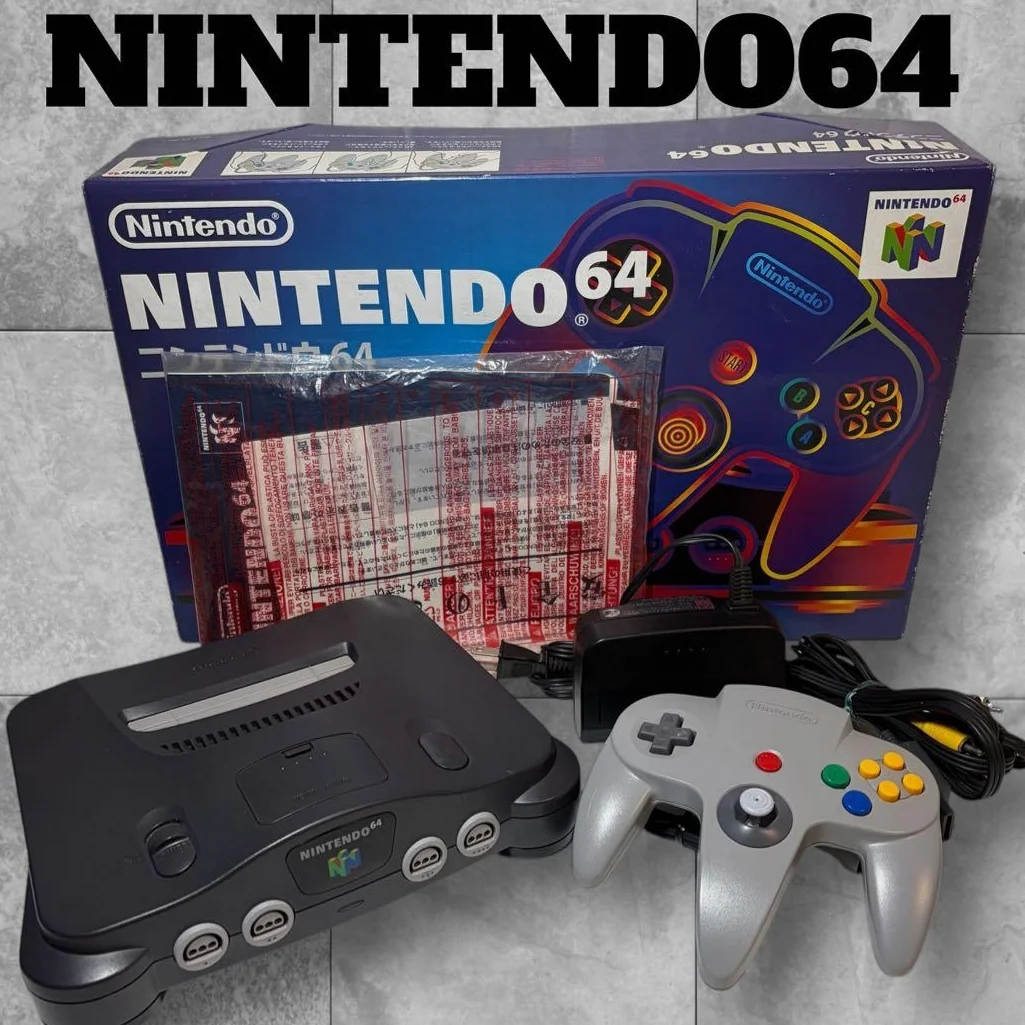
Complete Guide to Nintendo 64 Metal Plate Replacement
Has your N64 "broken a bone"? Console shell deformed, metal plate bent, or heatsink loose? The N64's internal metal plate isn't just structural support—it's also important for heat dissipation and electromagnetic shielding. Metal plate damage can lead to poor cooling, motherboard warping, even short circuit risks. Don't worry, replacing the metal plate is simpler than you think!
Required Tools
- Phillips screwdriver, 4.5mm console specific
- Plastic spudger, to avoid scratching plastic shell
- Needle-nose pliers, for handling bent metal pieces
- Anti-static mat, to protect motherboard
- Isopropyl alcohol and cotton swabs, for cleaning contact surfaces
- Thermal paste (optional), to improve heat transfer
- Gloves, to avoid hand cuts
Repair Steps
1. Diagnose Metal Plate Problem
- Check shell deformation: Is console flat, any bending?
- Check cooling: Does console overheat abnormally during gameplay?
- Check stability: Does console wobble on table?
- Check interior: After disassembly, observe if metal plate has rust or deformation
2. Complete N64 Console Disassembly
- Remove 6 bottom screws (2 under rubber feet)
- Carefully separate top and bottom shells, note clips
- Disconnect all cables: Power, video, controller ports
- Remove motherboard mounting screws (4)
- Extract motherboard, expose metal plate
3. Remove Old Metal Plate
- Remove metal plate mounting screws (typically 6-8)
- Note: Some screws may be tight, use appropriate screwdriver
- Gently lift metal plate, avoid scratching motherboard
- Clean old thermal pad or paste residue
- Check motherboard for damage caused by metal plate deformation
4. Prepare New Metal Plate
- Model Matching: Confirm metal plate model matches original
- Clean new metal plate: Wipe all surfaces with isopropyl alcohol
- Check flatness: Place on glass to check if flat
- Apply thermal paste (if needed): At CPU and GPU positions
- Install new thermal pads (if needed)
5. Install New Metal Plate
- Align all screw holes
- Hand-tighten all screws first, don't fully tighten
- Gradually tighten screws in diagonal pattern
- Important: Don't overtighten, avoid motherboard warping
- Ensure metal plate contacts all chips properly
6. Reassembly and Testing
- Reinstall motherboard, connect all cables
- Close shell, tighten all screws
- Power-on test: Observe power light and video output
- Run game for 30 minutes, test cooling effectiveness
- Check console stability: Does it sit flat on table?
Parts and Price Reference
| Required Part | Reference Price | Purchase Channel | Player Comments |
|---|---|---|---|
| N64 Original Metal Plate | $7.5-15 USD | Salvage parts | Note condition, any rust |
| Third-party Metal Plate | $4.5-12 USD | Custom online | Quality varies, choose carefully |
| Thermal Paste | $1.5-3 USD | Computer store | Shin-Etsu 7921 or similar |
| Thermal Pads | $2-4.5 USD | Electronics store | 1mm thickness commonly used |
| Special Screwdriver | $4-6 USD | Online tool sets | Must buy console specific |
| N64 Complete Shell | $12-25 USD | Salvage | If shell also damaged |
Veteran Player Experience Library
🎮 Metal Plate Functions Beyond Support
- Structural Support: Prevents motherboard bending and warping
- Cooling Function: Conducts heat through metal
- EMI Shielding: Reduces interference, improves signal quality
- Grounding Function: Provides stable ground reference
🔧 Common Metal Plate Issues
- Bending Deformation: Improper shipping or heavy pressure
- Rust: Humid environment causing, affects cooling and grounding
- Stripped Screw Holes: Multiple disassemblies causing, needs repair
- Loose Heatsink: Thermal pad aging causing
- EMI Shielding Failure: Deformation causing poor contact
💡 Metal Plate Upgrade Modifications
- Thicker Metal Plate: Improve structural strength (custom)
- Add Heatsinks: Improve cooling performance
- Coating Treatment: Rust prevention, extend lifespan
- Ventilation Optimization: Improve internal airflow
Repair Difficulty: ★★☆☆☆
Estimated Time: 1-2 hours
Success Probability: 95% (metal plate replacement relatively simple)
📚 Trivia: N64 Metal Plate "Evolution History"
- Early Versions: Thicker metal plate, solid construction
- Mid-period Versions: Thickness reduced for cost savings
- Later Versions: Possible design tweaks, hole position changes
- Different Region Versions: May have subtle differences
🎯 Philosophy of Metal Plate Repair
Metal plate is like console's "skeleton": 1. Without good skeleton, best chips are useless: Structural stability is foundation 2. Cooling ensures performance: Overheating shortens chip lifespan 3. Details determine success: Screw tightening sequence, thermal material choice important 4. Prevention better than repair: Regular inspection avoids problem worsening
🔍 How to Determine if Metal Plate Needs Replacement
- Visibly bent: Check on flat surface
- Poor cooling: Overheats soon after game starts
- Strange noises: Metal resonance or friction sounds
- Signal interference: Snow or stripes on screen
- Multiple repair marks: Screw holes already damaged
Player's Voice: The N64's metal plate may be inconspicuous, but it's the entire console's "backbone." Replacing the metal plate is like giving an old friend a new skeleton, letting it stand straight again, run more stable. After repair, plug in Mario Kart 64, you'll find the console no longer "bends" during drift turns—every acceleration feels solid and powerful.