PlayStation Vita Shoulder Button Replacement Complete Guide
Overview
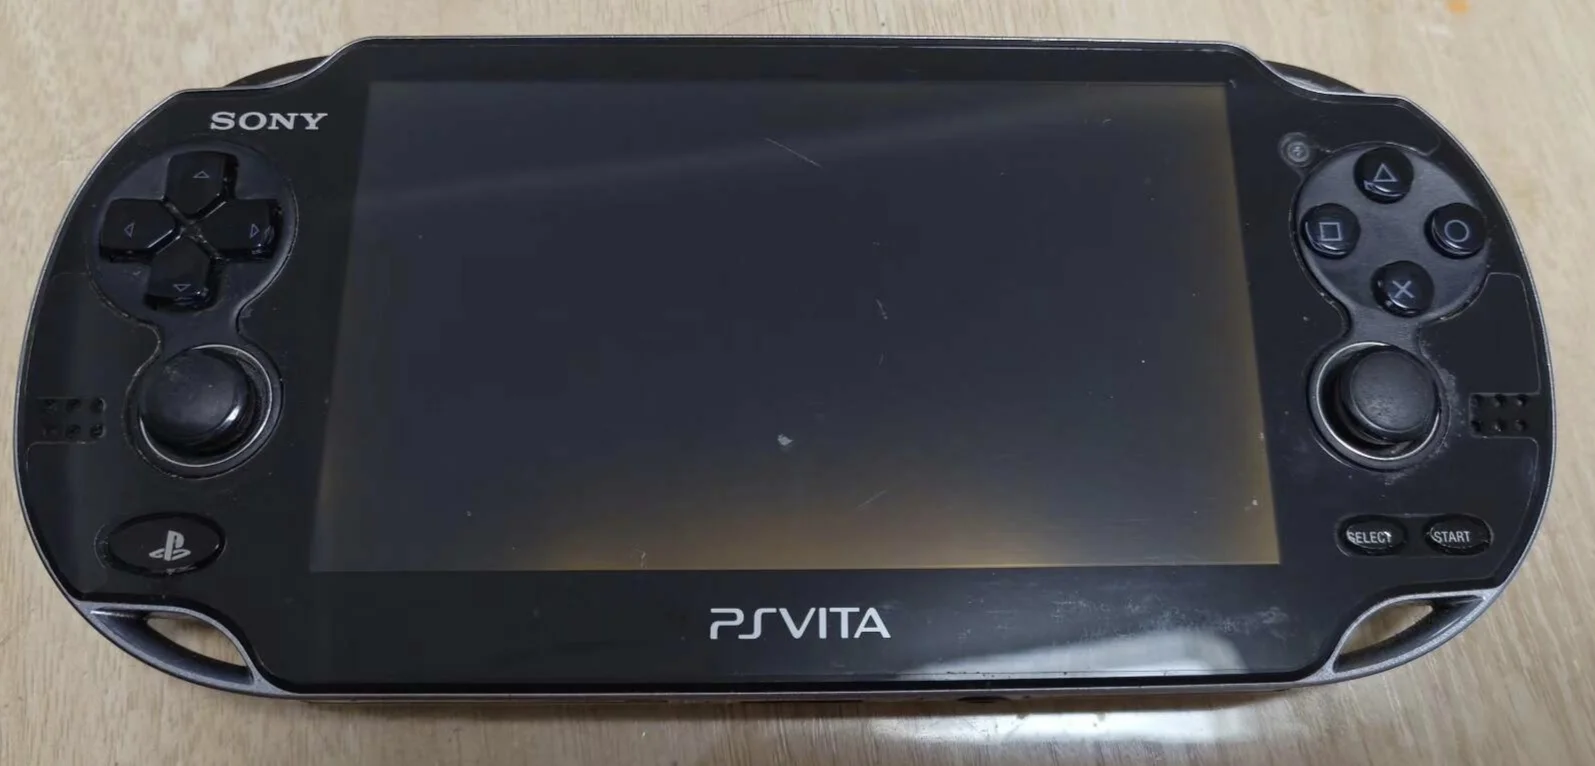
Furious! My PSV shoulder buttons all stuck! Playing Killzone want to press L to aim, crosshair wobbles like a drunk; playing Uncharted want to press R to shoot, Drake just fights empty-handed like an idiot! Now L and R buttons hard as rocks, won't spring back after pressing, have to dig them out with fingernails! What's worse, sometimes auto-fire continuously, character twitches like having a seizure! Should I glue them shut? No way! Today I must give my PSV 'sensitive shoulder buttons' and restore shooting thrill!
Required Tools
- Phillips screwdriver (PH00)
- Plastic spudger
- Tweezers
- New PS Vita shoulder button set (L and R buttons)
- Anti-static wrist strap (recommended)
Safety Precautions
- Power Off Operation: Ensure PS Vita is completely powered off
- Static Protection: Discharge static electricity before operation
- Spring Caution: Shoulder buttons contain springs; prevent springs from popping out and getting lost during disassembly
- Ribbon Cable Attention: Be careful with ribbon cables connected to shoulder buttons
Detailed Steps
Step 1: Remove Rear Panel
- Remove rear panel according to model
- Carefully detach rear panel
Step 2: Complete Power Disconnection
- Locate battery connector
- Disconnect battery
- Ensure device is completely powered off
Step 3: Access Shoulder Buttons
L Button Access
- L button is located on top left side of device
- May require partial frame disassembly
- Expose L button mechanism
R Button Access
- R button is located on top right side of device
- May require partial frame disassembly
- Expose R button mechanism
Step 4: Remove Old Shoulder Buttons
L Button Removal
- Locate L button mounting screws or clips
- Remove mounting components
- Spring Caution: Slowly release spring tension
- Remove L button assembly
- Disconnect L button ribbon cable (if present)
R Button Removal
- Locate R button mounting screws or clips
- Remove mounting components
- Spring Caution: Slowly release spring tension
- Remove R button assembly
- Disconnect R button ribbon cable (if present)
Step 5: Install New Shoulder Buttons
L Button Installation
- Connect L button ribbon cable (if present)
- Install spring to correct position
- Place L button into mounting position
- Secure L button assembly
- Test spring rebound
R Button Installation
- Connect R button ribbon cable (if present)
- Install spring to correct position
- Place R button into mounting position
- Secure R button assembly
- Test spring rebound
Step 6: Testing and Reassembly
- Temporarily connect battery to test L and R button functions
- Test button feel and rebound
- Reassemble all components
- Install rear panel
Functional Testing
- Individual Button Test: Test L and R button functions separately
- Simultaneous Press Test: Test both shoulder buttons pressed simultaneously
- Rapid Alternation Test: Test rapid alternating presses
- Game Testing: Test in shooting, racing, and other games
Repair Difficulty: ★★★☆☆ (Moderately Difficult)
Required Time: 45-70 minutes
Note: Springs can easily pop out and get lost; exercise extreme caution during operation