PlayStation Vita Left Button Board Replacement Complete Guide
Overview
Bricked! My PSV left control all dead! Playing Uncharted want to control Drake's movement, but D-pad and left stick all dead, character like wooden doll! Playing Killzone want to aim and shoot, but left control completely unresponsive, just stand there taking hits! Now entire left control area dead like corpse, pressing nothing works! What's worse, sometimes误触发, character twitches like having seizure! Should I use right hand for all games? No way! Today I must give my PSV 'sensitive left control board' and restore full control!
Required Tools
- Phillips screwdriver (PH00)
- Plastic spudger
- Tweezers
- New PS Vita left button board
- Anti-static wrist strap (recommended)
Safety Precautions
- Power off: Ensure PS Vita is completely powered down
- ESD protection: Circuit boards are sensitive to static electricity
- Ribbon cable care: Button board ribbon cables are delicate
- Component storage: Keep all screws organized and safe
Detailed Steps
Step 1: Remove Rear Panel
- Remove rear panel according to model
- Carefully detach rear panel
Step 2: Complete Power Disconnection
- Disconnect battery connection
- Ensure device is completely powered off
Step 3: Access Left Button Board
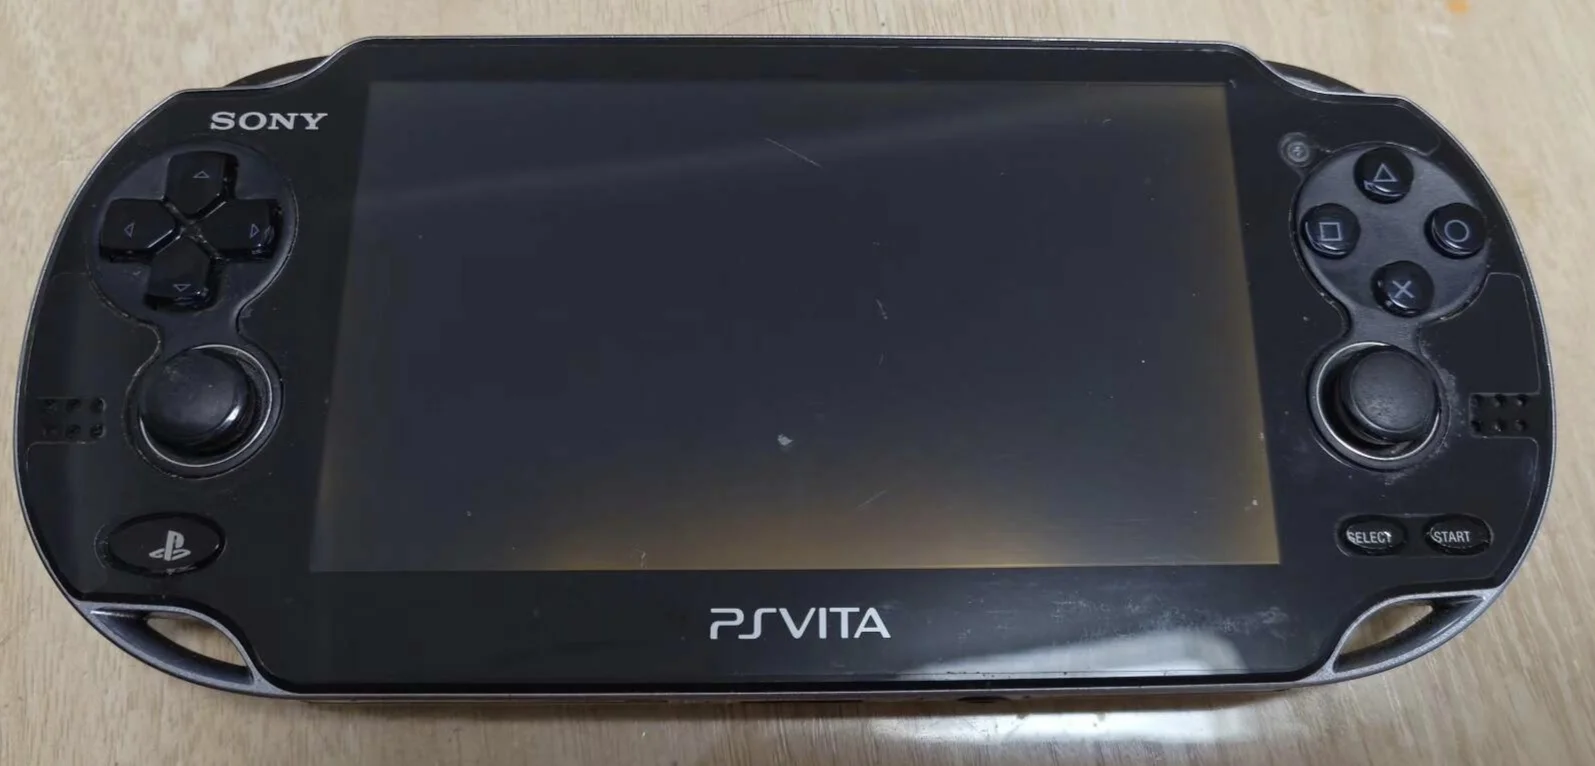
- Left button board located on device left side
- May require partial frame disassembly
- Expose left button board
Step 4: Remove Old Button Board
- Locate button board ribbon cable connector
- Use tweezers to gently lift ribbon cable latch
- Pull out button board ribbon cable
- Remove screws securing button board
- Remove old button board
Step 5: Install New Button Board
- Place new button board in mounting position
- Note installation orientation and position
- Tighten mounting screws
- Connect button board ribbon cable
- Ensure ribbon cable fully inserted and latched
Step 6: Testing and Reassembly
- Temporarily connect battery to test all left-side controls
- Test directional pad, left analog stick, etc.
- Reassemble all components
- Install rear panel
Function Testing
- Directional pad test: Test up, down, left, right functions
- Left analog stick test: Test stick control and press function
- Combination test: Test directional pad and stick combination use
- Game testing: Test in actual games
Repair Difficulty: ★★★☆☆ (Moderate) Required Time: 35-55 minutes