Super Nintendo Motherboard Replacement Complete Guide
Overview
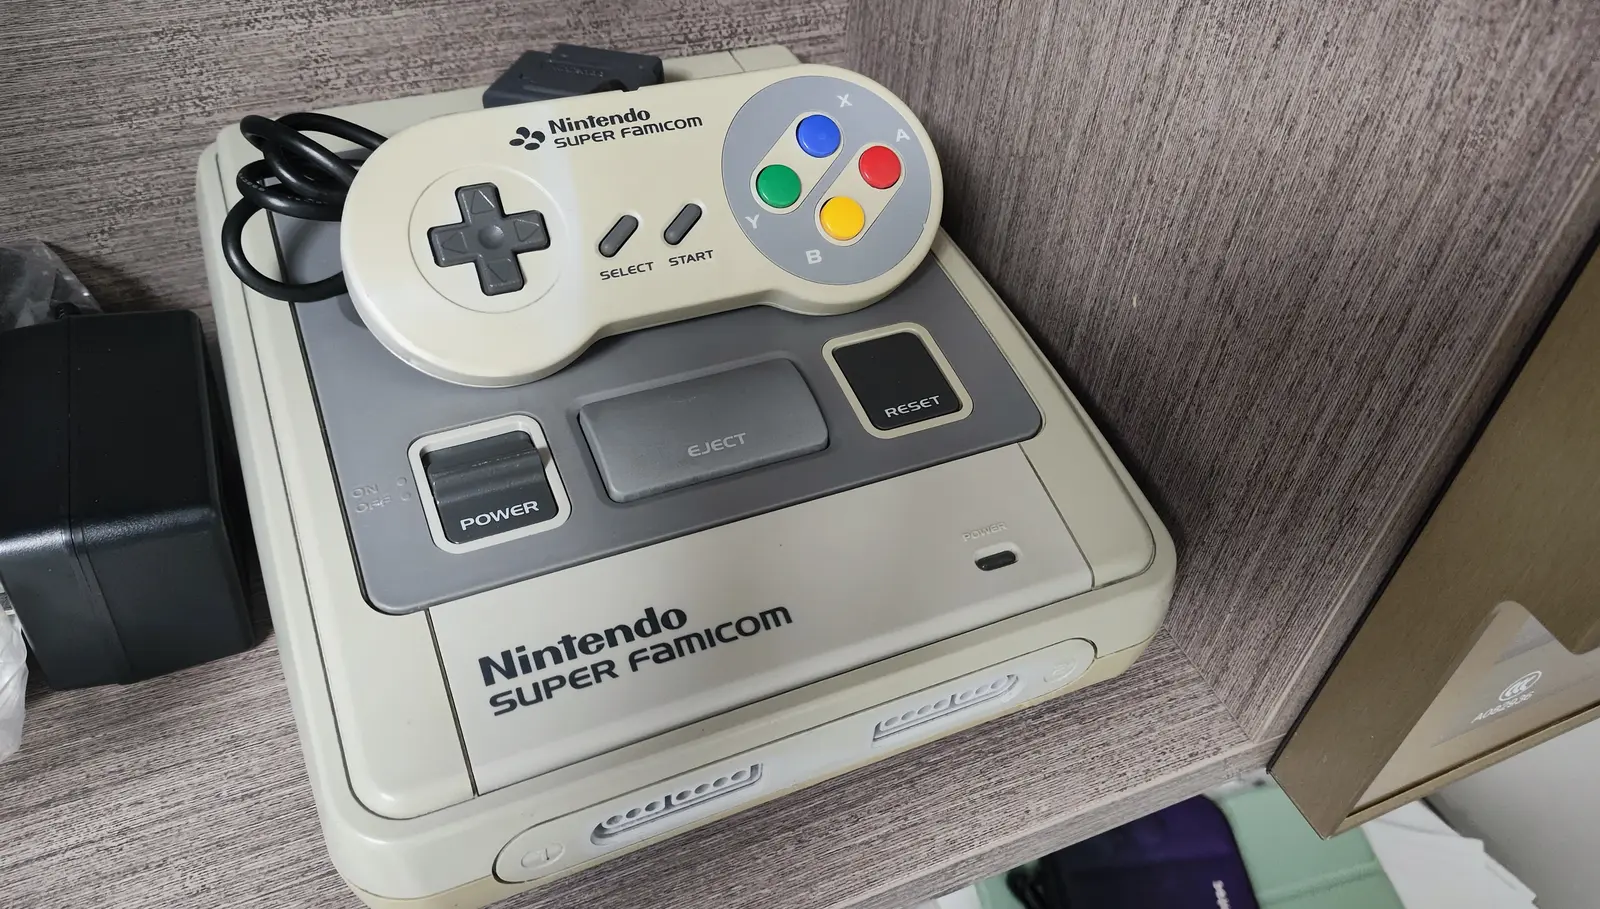
The Super Nintendo (SNES) motherboard is the heart of the console, containing critical chips like the CPU, PPU, RAM, and ROM. Due to aging, power issues, physical damage, or liquid damage, the motherboard can develop various faults. This guide provides detailed instructions on diagnosing and replacing an SNES motherboard—one of the most advanced repair operations you can perform.
Required Tools
- Phillips screwdrivers (#00, #0, #1)
- Flathead screwdriver or plastic spudger
- Tweezers
- Anti-static wrist strap (essential)
- Anti-static work mat
- New SNES motherboard (ensure compatibility)
- Isopropyl alcohol and cotton swabs
- Compressed air canister
- Multimeter (for testing)
- Hot air station or chip removal tools (optional, for chip transplantation)
- Soldering iron and solder (optional, for connection work)
Safety Precautions
- ESD Protection: The motherboard contains sensitive CMOS chips—wear an anti-static wrist strap throughout the entire process.
- Power Off: Ensure the console is completely unplugged from all power sources.
- Component Protection: Protect all connectors and fragile components during disassembly.
- Photo Documentation: Take photos at every step to record all connections and component positions.
- Patience and Care: This is a complex operation requiring patience and attention to detail.
Diagnostic Steps
Before deciding to replace the motherboard, accurately diagnose the problem:
Step 1: Symptom Analysis
- Complete No Response:
- Power LED doesn't light up
- No video/audio output
-
Could be power supply issues or severe motherboard failure
-
Partial Function Failure:
- Power but no video
- Video but no audio
- Specific games won't run
-
Could be specific chip failures
-
Intermittent Issues:
- Works sometimes, fails other times
- Affected by temperature or vibration
- Could be poor connections or aging components
Step 2: Eliminate Other Possibilities
- Power Supply Test:
- Test power adapter output voltage
-
Check motherboard power input points
-
Video/Audio Test:
- Test video cables
- Test TV inputs
-
Test audio outputs
-
Peripheral Testing:
- Test controllers
- Test game cartridges
- Test RF modulator (if used)
Step 3: Motherboard Inspection
If you suspect motherboard issues: 1. Visual Inspection: - Check for burn marks or discoloration - Check capacitors for leakage or bulging - Check chip pins for corrosion - Check for cracks in the circuit board
- Smell Test:
- Check for burnt electronics smell
-
Note any electrolytic fluid leakage odors
-
Basic Electrical Testing:
- Test main power point voltages
- Test critical signal lines
- Note: Deep testing requires professional equipment
Replacement Steps
Step 1: Preparation
- Set Up Anti-static Workstation:
- Lay out anti-static work mat
- Wear anti-static wrist strap connected to ground point
-
Ensure work area is clean, organized, and well-lit
-
Prepare Documentation Tools:
- Camera or phone for photos
- Label stickers for connectors
-
Notebook for step-by-step recording
-
Prepare Component Containers:
- Use compartmentalized containers for screws
- Prepare small bags for tiny components
- Label all removed parts
Step 2: Complete Console Disassembly
- Remove Outer Shell:
- Remove all external screws
- Carefully separate top and bottom shells
-
Disconnect internal wiring (power switch, reset button, etc.)
-
Remove Shielding:
- SNES motherboards typically have metal shielding
- Remove screws securing the shielding
-
Carefully remove shielding, noting any grounding tabs
-
Remove Motherboard Mounting:
- Remove screws securing the motherboard
- Note any plastic standoffs or mounting clips
- Record positions of all mounting points
Step 3: Disconnect All Connections
- Identify All Connectors:
- Power input connector
- Video output connector (multi-pin or RF)
- Controller port wiring
- Power switch/reset button wiring
-
Cartridge slot connection (if separable)
-
Disconnect Cables:
- Carefully disconnect connectors using tweezers or plastic tools
- Don't pull on wires forcefully
-
Photograph each connector's orientation and position
-
Label Connectors:
- Use label stickers on each connector
- Or annotate photos with connector information
- Ensure no mistakes when reconnecting
Step 4: Remove Old Motherboard
- Release Final Mountings:
- Verify all mounting points are released
-
Check for hidden clips or adhesive
-
Carefully Remove:
- Lift motherboard steadily with both hands
- Avoid bending or twisting the board
-
Don't touch sensitive components
-
Store Old Motherboard:
- Place old motherboard in anti-static bag or on foam
- Keep as reference or source for spare parts
Step 5: Prepare New Motherboard
- Inspect New Motherboard:
- Visual inspection for obvious damage
- Check all chips are intact
-
Test key connection points (if possible)
-
Cleaning Process:
- Clean dust with compressed air
- Clean connector contacts with isopropyl alcohol
-
Check and ensure all solder joints are intact
-
Compatibility Verification:
- Confirm motherboard model is compatible with your SNES
- Check connector positions and types match
- Verify mounting point positions align
Step 6: Install New Motherboard
- Position Motherboard:
- Align new motherboard with mounting position
- Ensure all mounting holes align
-
Verify connector positions are correct
-
Initial Mounting:
- Install a few key mounting points first
- Don't fully tighten screws—leave room for adjustment
-
Check motherboard sits flat
-
Connect All Cables:
- Reconnect all cables according to labels and photos
- Ensure each connector is fully inserted
- Check connection orientation and locking mechanisms
Step 7: Reassembly
- Install Shielding:
- Install metal shielding
- Ensure grounding tabs make good contact
-
Tighten all mounting screws
-
Install Internal Components:
- Reinstall power switch, reset button, etc.
- Ensure all internal components are properly positioned
-
Check cables aren't pinched
-
Install Outer Shell:
- Align top and bottom shells
- Ensure all clips engage properly
- Tighten all external screws
Step 8: Testing and Verification
Phase 1: Basic Power Test
- Test Without Cartridge:
- Connect power supply
- Turn on power switch
- Observe power LED
-
TV should show "no signal" or similar display
-
Safety Observation:
- Watch for unusual smells
- Touch key motherboard areas to check for abnormal heat
- Listen for unusual sounds
Phase 2: Functional Testing
- Insert Test Cartridge:
- Use a known-good game cartridge
- Insert cartridge, turn on power
-
Observe if game boots normally
-
Comprehensive Function Test:
- Test video output (color, clarity)
- Test audio output (left/right channels)
- Test both controller ports
- Test power switch and reset button
-
Test cartridge eject mechanism
-
Extended Testing:
- Run game for 30+ minutes
- Check stability for random resets
- Test different games for compatibility
Chip Transplantation Options
If the new motherboard lacks certain chips or you need to preserve specific functionality:
Option A: Chip-Level Transplantation
- Identify Critical Chips:
- CPU (Ricoh 5A22)
- PPU (S-PPU1, S-PPU2)
- Sound chip (S-SMP)
-
Other special chips
-
Chip Removal:
- Use hot air station or specialized removal tools
- Control temperature to avoid damaging chips or motherboard
-
Clean pads for transplantation
-
Chip Installation:
- Align chip orientation (note markings)
- Use appropriate soldering techniques
- Check all pin connections
Option B: Module Transplantation
- RF Module Transplantation (if needed):
- Early SNES models have built-in RF modulators
-
Transplant from old motherboard if required
-
Region Chip Transplantation:
- Motherboards from different regions may have region-lock chips
- Transplant relevant chips for specific region compatibility
Common Issues and Solutions
Issue 1: No Response After Replacement
- Possible Cause: Incorrect power connection or faulty motherboard
- Solution: Check all power connections, test power input points
Issue 2: Power But No Video/Audio
- Possible Cause: Video/audio connection errors or chip issues
- Solution: Check relevant connections, test video/audio chips
Issue 3: Specific Games Won't Run
- Possible Cause: Compatibility issues or specific chip failures
- Solution: Check motherboard model compatibility, test relevant chips
Issue 4: Intermittent Issues
- Possible Cause: Poor connections or temperature sensitivity
- Solution: Check all connections, test performance at different temperatures
Preventive Maintenance
- Environmental Control:
- Keep console in dry, temperature-stable environment
- Avoid dust accumulation
-
Regularly clean ventilation openings
-
Power Protection:
- Use high-quality power adapters
- Avoid voltage fluctuations
-
Unplug when not in use
-
Regular Inspection:
- Inspect internal condition annually
- Check capacitor status
- Clean internal dust
Technical Specifications
- CPU: Ricoh 5A22 (based on 65C816), 3.58 MHz
- PPU: S-PPU1 and S-PPU2
- RAM: 128KB work RAM, 64KB video RAM
- Sound: S-SMP (based on SPC700), S-DSP
- Video Output: RF, composite video, RGB (some models)
- Power: DC 10V, 850mA
Professional Advice
- Backup Considerations:
- If old motherboard has important data or special modifications, consider backing up
-
Photograph all special wiring or modifications
-
Compatibility Research:
- Research motherboard compatibility across different SNES models
-
Understand regional differences and modification possibilities
-
Professional Assistance:
- If unfamiliar with motherboard-level repairs, consider professional help
-
Complex chip transplantation requires professional equipment and skills
-
Testing Equipment:
- If available, use professional equipment like oscilloscopes, logic analyzers
- Establish systematic testing procedures
Summary
SNES motherboard replacement is the most advanced repair operation, requiring specialized knowledge, precise handling, and proper tools. By following this guide's detailed steps, you can systematically complete this complex task. However, if you're unfamiliar with electronics repair or the motherboard contains valuable modifications, strongly consider professional repair services. Remember: anti-static measures are crucial for success, and patience and care are more important than speed.
Last updated: February 28, 2026
Reference source: iFixit Super Nintendo Motherboard Replacement Guide