PlayStation Vita Left/Right Joystick Individual Replacement Complete Guide
Overview
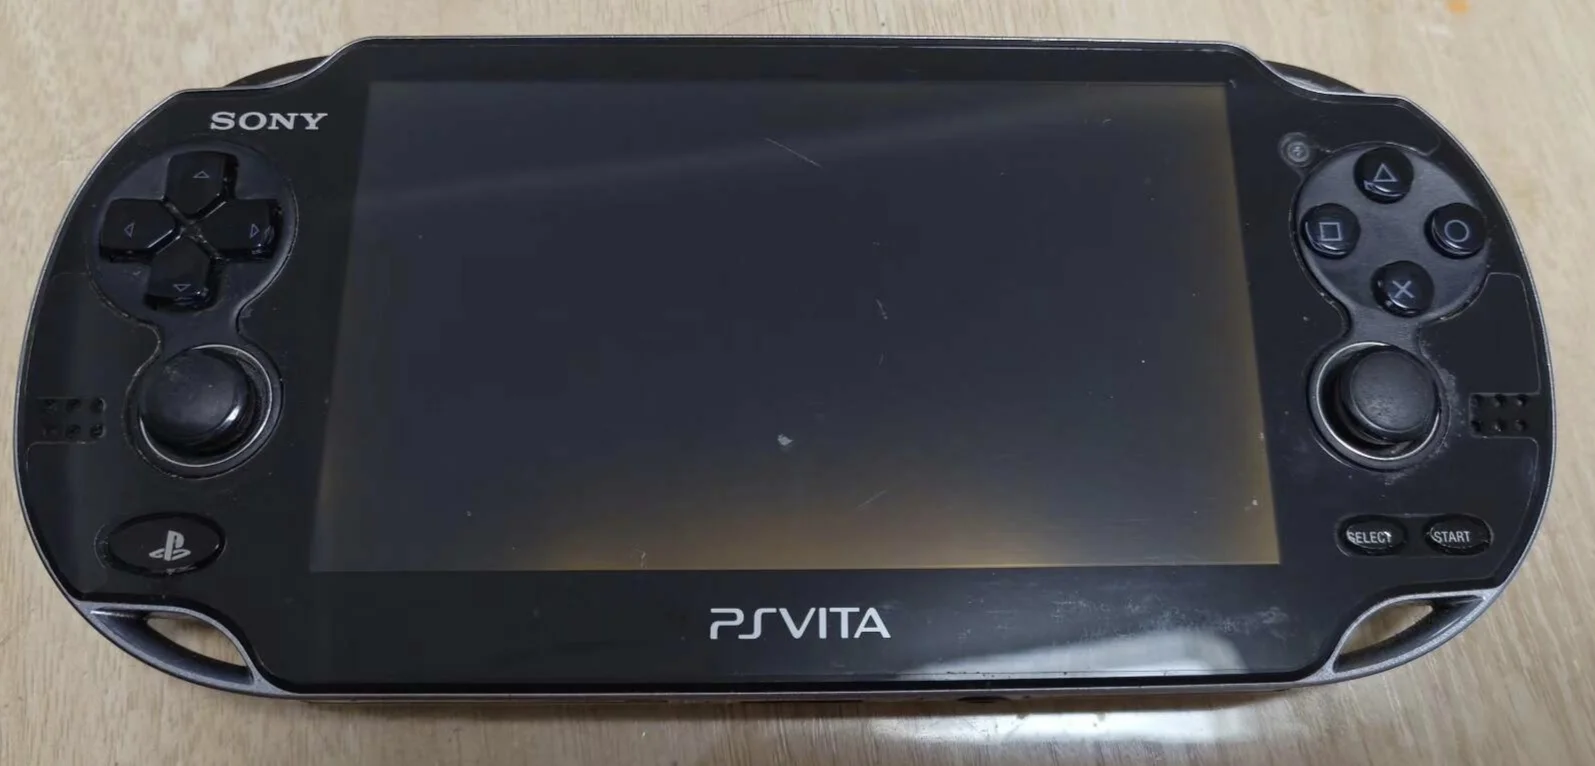
Help! My PSV left/right joystick单独坏了! Playing Uncharted left stick drifts, Drake runs toward cliff by himself; playing Killzone right stick dead, crosshair nailed in place! What's worse, only one stick broken, other still works fine, should I replace entire control board for one坏摇杆? No way! Today I'll learn to replace joysticks individually, give my PSV 'precise single joystick' and restore precise control!
Required Tools
- Phillips screwdriver (PH00)
- Plastic spudger
- Tweezers
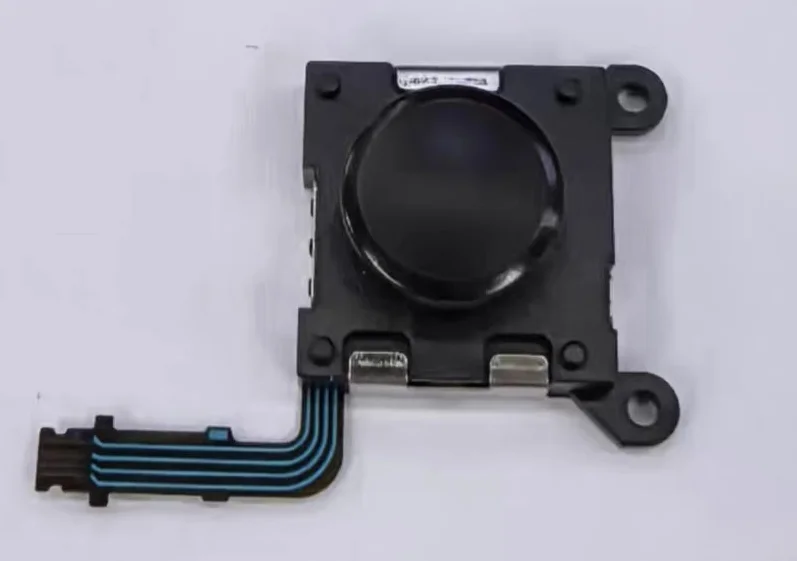
- New PS Vita joystick module (left or right)
- Anti-static wrist strap (recommended)
Safety Precautions
- Power off: Ensure PS Vita is completely powered down
- ESD protection: Discharge static electricity before handling
- Ribbon cable care: Joystick ribbon cables are delicate
- Model confirmation: Left and right modules are different and not interchangeable
Left vs. Right Joystick Differences
Physical Differences
- Ribbon cable length: Different lengths for left and right
- Connection location: Connect to different positions on motherboard
- Mounting method: May have subtle mounting differences
- Module markings: Usually marked with L and R identifiers
Functional Differences
- L3/R3 functions: Different functions when pressing the sticks
- Game mapping: Typically assigned different functions in games
- Usage frequency: Used differently in various game genres
- Wear patterns: Left and right joysticks may wear differently
Left Joystick Replacement Steps
Step 1: Access Left Joystick
- Left joystick located on device left side
- Requires rear panel and some frame disassembly
- Left joystick generally easier to access
- Expose left joystick module
Step 2: Remove Left Joystick
- Locate left joystick ribbon cable connector
- Use tweezers to gently lift ribbon cable latch
- Pull out left joystick ribbon cable
- Remove screws securing left joystick (typically 2)
- Remove left joystick module
Step 3: Install New Left Joystick
- Place new left joystick in mounting position
- Note L marking or installation orientation
- Tighten mounting screws
- Connect left joystick ribbon cable
- Ensure ribbon cable fully inserted
Right Joystick Replacement Steps
Step 1: Access Right Joystick
- Right joystick located on device right side
- May require more component disassembly
- Right joystick access may be more complex
- Expose right joystick module
Step 2: Remove Right Joystick
- Locate right joystick ribbon cable connector
- Use tweezers to gently lift ribbon cable latch
- Pull out right joystick ribbon cable
- Remove screws securing right joystick
- Remove right joystick module
Step 3: Install New Right Joystick
- Place new right joystick in mounting position
- Note R marking or installation orientation
- Tighten mounting screws
- Connect right joystick ribbon cable
- Ensure ribbon cable fully inserted
Common Steps
Step 4: Cleaning and Inspection
- Clean joystick mounting area
- Check joystick opening for debris
- Clean ribbon cable connectors
- Ensure mounting area is clean
Step 5: Preliminary Testing
- Temporarily connect battery
- Power on and test replaced joystick function
- Test all directions and press function
- Check for drift issues
Step 6: Reassembly
- Install all removed components
- Connect battery
- Install rear panel
- Tighten all screws
Advantages of Individual Replacement
Cost Savings
- Replace only what's needed: Don't replace perfectly good joystick
- Reduce waste: Purchase only necessary parts
- Shorter labor time: Only work on problematic side
- Lower risk: Reduce unnecessary disassembly
Targeted Repair
- Problem isolation: Know exactly which side has issues
- Symptom matching: Repair specific symptoms
- Usage consideration: Account for usage habits and wear patterns
- Preventive maintenance: Maintain only problematic side
Function Testing Focus
Left Joystick Testing Focus
- Movement control: Test character movement control
- Camera control: Test in first-person games
- Menu navigation: Test cursor control in menus
- Special functions: Test game-specific functions
Right Joystick Testing Focus
- Camera control: Test camera rotation control
- Aiming control: Test in shooting games
- Camera functions: Test camera control functions
- Special operations: Test game-specific operations
Common Testing
- Center return: Test if returns to center when released
- Press function: Test L3/R3 press functions
- Precision test: Test fine control capability
- Game testing: Comprehensive testing in actual games
Purchasing Recommendations
Individual Purchase
- Clear needs: Determine if left or right joystick needed
- Model confirmation: Confirm correct left/right model
- Quality selection: Choose quality similar to OEM
- Price comparison: Individual purchase may be slightly more expensive
Set Consideration
- Spare value: Extra joystick for future use
- Future repairs: Prepare for potential future issues
- Price advantage: Sets may be more cost-effective
- Consistency: Ensure left and right joysticks feel consistent
Summary
Individual replacement of PlayStation Vita left and right joysticks is a practical repair option, especially when only one side has issues. Following this guide's steps and noting the differences between left and right joysticks, most users can successfully complete individual replacement.
Repair Difficulty: ★★★☆☆ (Moderate) Required Time: 30-50 minutes (single side) Success Rate: 85%+
Note: Left and right joystick modules are different and not interchangeable. Must confirm whether purchasing left or right joystick. Pay attention to ribbon cable length and connection location during installation.
Decision Advice: If both joysticks have issues or are near end of life, recommend replacing as a set. If only one side has problems, individual replacement is more economical.
Compatible Models: All PlayStation Vita models (1000 and 2000 series)