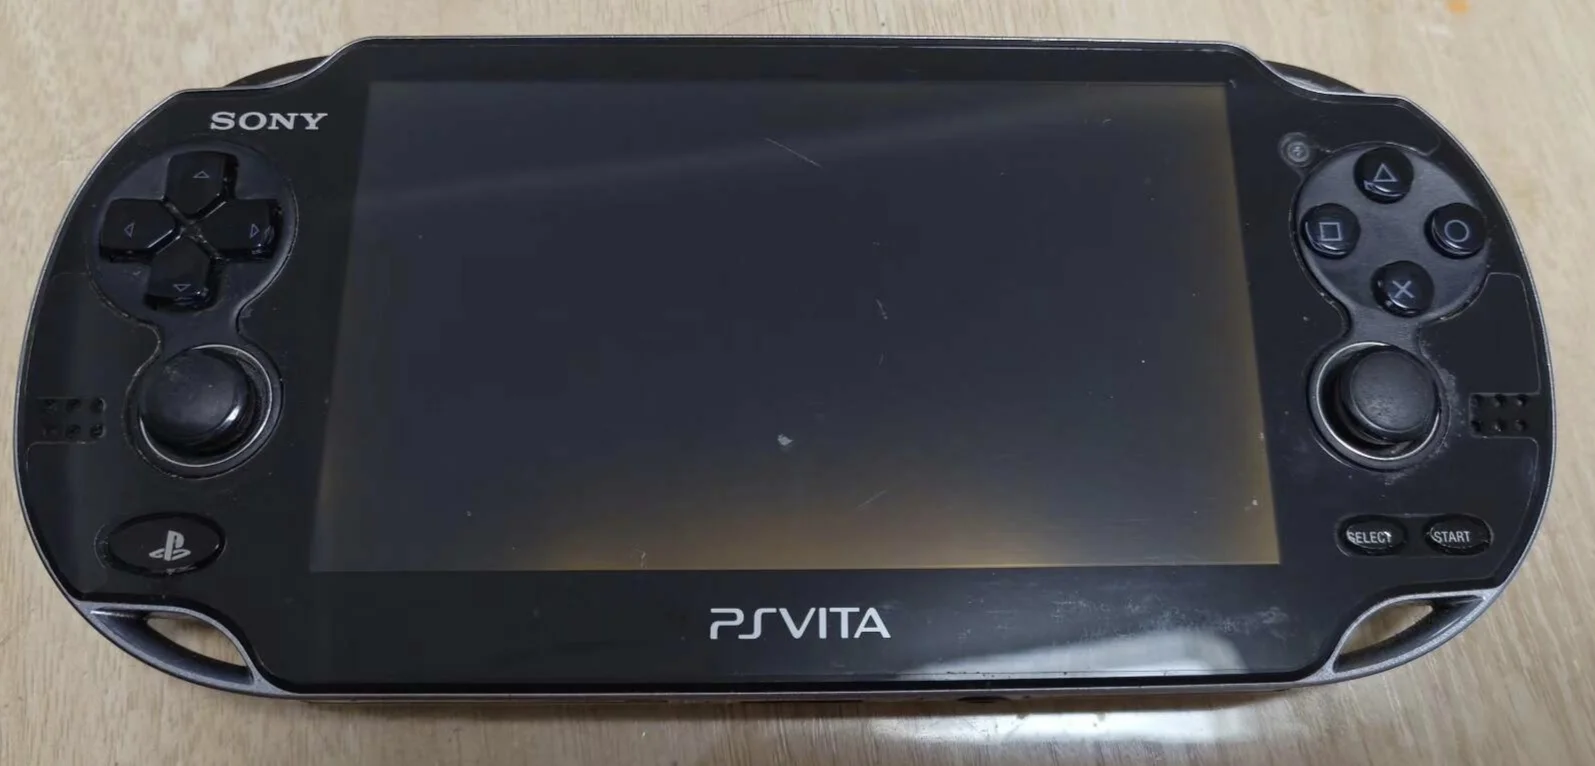
PlayStation Vita GPS Antenna Replacement Complete Guide
Overview
Crash! My PSV GPS定位 all messed up! Using map app导航,定位飘到几百米外, led me into dead end! Playing location-based games, character teleports like ghost, completely unplayable! What's worse, sometimes shows "定位中" but never定位, sometimes jumps位置 randomly! Now even basic导航功能 dead, should I be lost forever? No way! Today I must give my PSV 'precise GPS' and restore定位能力!
Required Tools
- Phillips screwdriver (PH00)
- Plastic spudger
- Tweezers
- New PS Vita GPS antenna
- Anti-static wrist strap (recommended)
Safety Precautions
- Power Off: Ensure PS Vita is completely powered down
- ESD Protection: GPS components are sensitive to static electricity
- Antenna Protection: GPS antenna is delicate—don't bend or damage
- Connection Care: Antenna connector is delicate—handle gently
GPS Function Explanation
PS Vita GPS Features
- Positioning Accuracy: Typically 5-10 meters (outdoors)
- Supported Applications: Maps, navigation, location-based games
- Assisted Positioning: Can combine with Wi-Fi and 3G assisted positioning
- Cold Start Time: First positioning may take 30-60 seconds
3G Model Exclusive
- 3G Models Only: Wi-Fi models don't have GPS antenna
- Integrated Design: GPS integrated with 3G functionality
- Positioning Advantage: Maintains positioning while moving
Step-by-Step Instructions
Step 1: Remove Rear Panel
- Remove rear panel according to model
- Carefully remove rear panel
Step 2: Complete Power Off
- Locate battery connector
- Disconnect battery
- Ensure device is completely powered down
Step 3: Access GPS Antenna
- GPS antenna typically located at top of device
- Near 3G antenna position
- May need to remove part of frame
- Expose GPS antenna and connector
Step 4: Remove Old Antenna
- Locate GPS antenna connector (typically IPEX interface)
- Gently unplug antenna connector using tweezers
- Important: GPS antenna is fragile—handle with extra care
- Remove adhesive tape or clips securing antenna
- Remove old antenna
Step 5: Install New Antenna
- Place new antenna in installation position
- Note antenna orientation and position
- GPS antenna is position-sensitive—must install accurately
- Secure antenna (using tape or clips)
- Connect antenna connector
- Ensure connector is fully inserted
Step 6: Testing and Reassembly
- Temporarily connect battery to test GPS function
- Test positioning in open outdoor area
- Test positioning accuracy and speed
- Reassemble all components
- Install rear panel
Function Testing
Positioning Testing
- Cold Start Test: Test first positioning time
- Hot Start Test: Test repositioning time
- Accuracy Test: Test positioning accuracy
- Stability Test: Test positioning stability
Application Testing
- Map Application: Test map positioning function
- Navigation Application: Test route navigation function
- Game Testing: Test location-based games
- Multi-application Testing: Test multiple applications using GPS simultaneously
Environmental Testing
- Outdoor Testing: Test in open area
- Urban Testing: Test in city environment
- Movement Testing: Test positioning while moving
- Indoor Testing: Test indoor positioning capability (typically poor)
Common Issues and Solutions
Issue 1: Cannot Acquire Location
- Possible Cause: Antenna not connected or GPS module failure
- Solution: Check antenna connection, test GPS module
Issue 2: Inaccurate Positioning
- Possible Cause: Improper antenna position or interference
- Solution: Reinstall antenna, avoid metal interference
Issue 3: Slow Positioning
- Possible Cause: Weak antenna signal or expired AGPS data
- Solution: Check antenna, update AGPS data
Issue 4: Intermittent Positioning
- Possible Cause: Poor antenna contact or software issues
- Solution: Reconnect antenna, reset positioning settings
GPS Technical Details
Antenna Type
- Patch Antenna: Small, suitable for mobile devices
- Position Sensitive: Sensitive to installation position and orientation
- Frequency: 1575.42MHz (L1 band)
Performance Influencing Factors
- Sky View: Requires sufficient sky visibility
- Building Obstruction: Tall buildings affect signal
- Weather Conditions: Severe weather may affect performance
- Electromagnetic Interference: Other electronic devices may interfere
Cost-Benefit Analysis
Repair Cost
- Original GPS Antenna: ¥60-120
- Compatible GPS Antenna: ¥30-70
- Professional Repair: ¥120-200 (including labor)
- DIY Repair Time: 25-45 minutes
Repair Value
- Function Restoration: Restores GPS positioning function
- Application Support: Supports location-based applications and games
- Device Completeness: Maintains 3G model's complete functionality
- User Experience: Improves navigation and positioning experience
Summary
PlayStation Vita GPS antenna replacement is a repair task requiring careful operation. GPS antenna is sensitive to installation position and orientation—must be installed accurately. By following this guide's steps and paying attention to precise antenna installation, most users can successfully complete the replacement.
Repair Difficulty: ★★★☆☆ (Moderately Difficult) Time Required: 25-45 minutes Success Probability: 80%+
Note: GPS antenna repair only applies to PS Vita 3G models. During installation, must ensure accurate antenna position, otherwise may affect positioning performance. Testing should be done in open outdoor areas.
Applicable Models: PlayStation Vita 3G models (PCH-1101, PCH-1102, PCH-1103)