PlayStation Vita Rear Camera Replacement Complete Guide
Overview
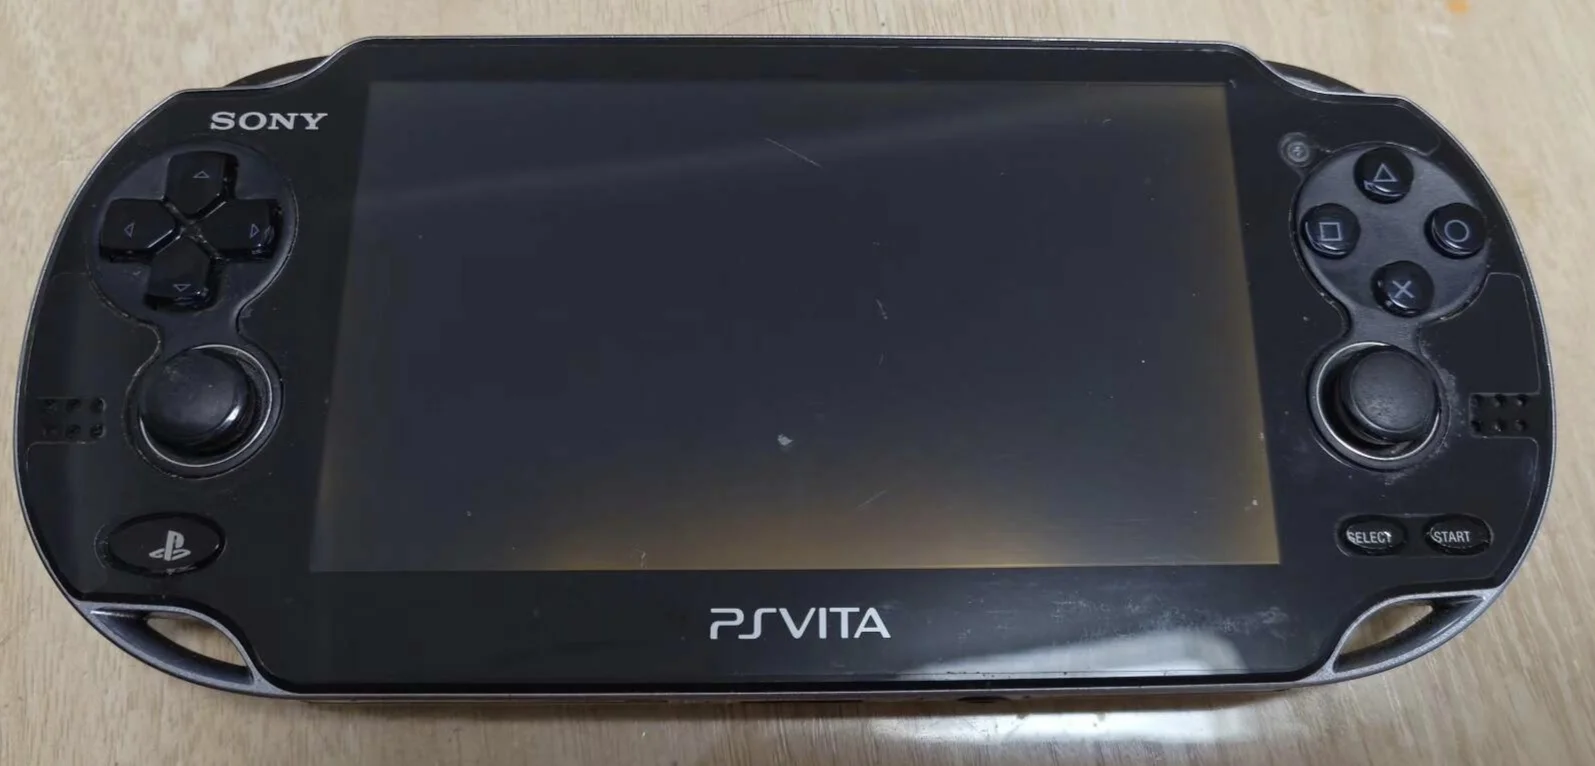
The PlayStation Vita's rear camera is used for photography, AR gaming, and video recording. Damage to the rear camera may result in inability to take photos, blurry images, or abnormal AR functionality. This guide provides detailed instructions on how to replace the PS Vita rear camera.
Required Tools
- Phillips screwdriver (PH00)
- Plastic spudger
- Tweezers
- New PS Vita rear camera module
- Anti-static wrist strap (recommended)
Safety Precautions
- Power Off Operation: Ensure PS Vita is completely powered off
- Static Protection: Camera is sensitive to electrostatic discharge
- Lens Protection: Do not touch camera lens
- Ribbon Cable Caution: Camera ribbon cables are fragile
Rear Camera Characteristics
PS Vita 1000 Series
- Location: Integrated within rear touchpad
- Disassembly Difficulty: High, requires careful handling of touchpad
- Repair Note: Replacement may affect touch functionality
PS Vita 2000 Series
- Location: Independent on rear panel
- Disassembly Difficulty: Relatively simple
- Repair Note: Independent module, easier replacement
Detailed Steps
Step 1: Remove Rear Panel
- Remove rear panel according to model
- Carefully detach rear panel
Step 2: Complete Power Disconnection
- Disconnect battery
- Ensure device is completely powered off
Step 3: Access Rear Camera
1000 Series
- Requires disassembly of touchpad assembly
- Expose rear camera module
- Be careful not to damage touch ribbon cables
2000 Series
- Rear camera independently installed
- Direct access to camera module
- Relatively simple
Step 4: Remove Old Camera
- Locate camera ribbon cable connector
- Gently lift ribbon cable latch using tweezers
- Carefully remove camera ribbon cable
- Remove screws or clips securing camera
- Remove old camera module
Step 5: Install New Camera
- Place new camera into mounting position
- Note installation orientation (usually marked)
- Secure camera module
- Connect camera ribbon cable
- Ensure ribbon cable is fully inserted and latched
Step 6: Testing and Reassembly
- Temporarily connect battery to test rear camera function
- Test photography, AR gaming functionality
- Reassemble all components
- Install rear panel
Functional Testing
- Photography Test: Test still photo capture
- Video Test: Test video recording functionality
- AR Test: Test AR gaming functionality
- Focus Test: Test autofocus functionality
Repair Difficulty: ★★★☆☆ (Moderately Difficult, 1000 Series) / ★★☆☆☆ (Medium, 2000 Series)
Required Time: 40-70 minutes (1000 Series) / 30-50 minutes (2000 Series)