PlayStation Vita Directional Pad Replacement Complete Guide
Overview
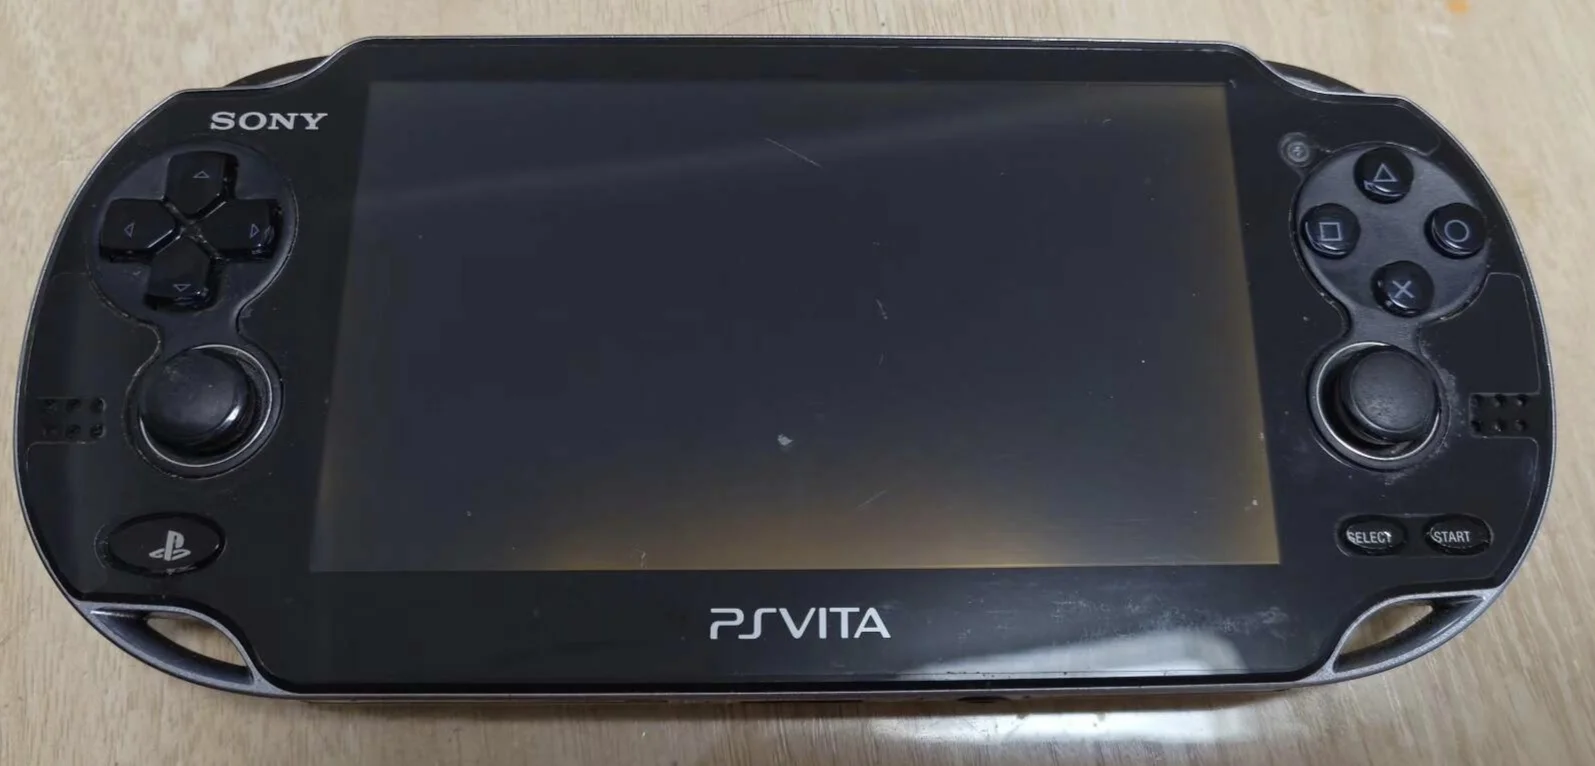
Despair! My PSV D-pad is stuck! Playing Gravity Rush want to control Kat's movement, she just stands there like a wooden doll; playing Patapon want to press D-pad for rhythm, completely can't keep beat! Now up/down/left/right directions stuck like glued, won't spring back after pressing, have to dig them out with fingernails! What's worse, sometimes auto-presses continuously, character walks around like drunk! Should I use toothpicks to game? No way! Today I must give my PSV 'sensitive directions' and restore precise navigation!
Tools Required
- Cross-head screwdriver (PH00)
- Plastic spudger
- Tweezers
- New PS Vita directional pad module
- Anti-static wrist strap (recommended)
Safety Precautions
- Power off operation: Ensure PS Vita is completely powered off
- Static protection: Discharge static electricity before operation
- Ribbon cable care: Directional pad ribbon cables are fragile, handle gently
- Silicone pad protection: Carefully handle silicone pads that provide spring return
Step-by-Step Instructions
Step 1: Remove Rear Panel
- Remove rear panel according to model (pry for 1000 series, remove screws for 2000 series)
- Carefully remove rear panel, avoid damaging clips
Step 2: Complete Power Disconnection
- Locate battery connector
- Disconnect battery
- Ensure device is completely powered off
Step 3: Access Directional Pad
- Directional pad located on left side of device
- May need to remove some frame components
- Expose directional pad module
Step 4: Remove Old Directional Pad
- Locate directional pad ribbon cable connector
- Use tweezers to gently lift ribbon cable latch
- Pull out directional pad ribbon cable
- Remove screws securing directional pad
- Remove old directional pad module
Step 5: Install New Directional Pad
- Install new silicone pads (if included)
- Place new directional pad into installation position
- Tighten securing screws
- Connect directional pad ribbon cable
- Ensure ribbon cable is fully inserted and latched
Step 6: Testing and Reassembly
- Temporarily connect battery to test function
- Test response and feel in each direction
- Reassemble all components
- Install rear panel
Function Testing
- Individual direction test: Test up, down, left, right
- Combination direction test: Test diagonal combinations
- Rapid press test: Test response speed
- Game testing: Test in actual games
Repair difficulty: ★★☆☆☆ (Moderate)
Time required: 30-45 minutes